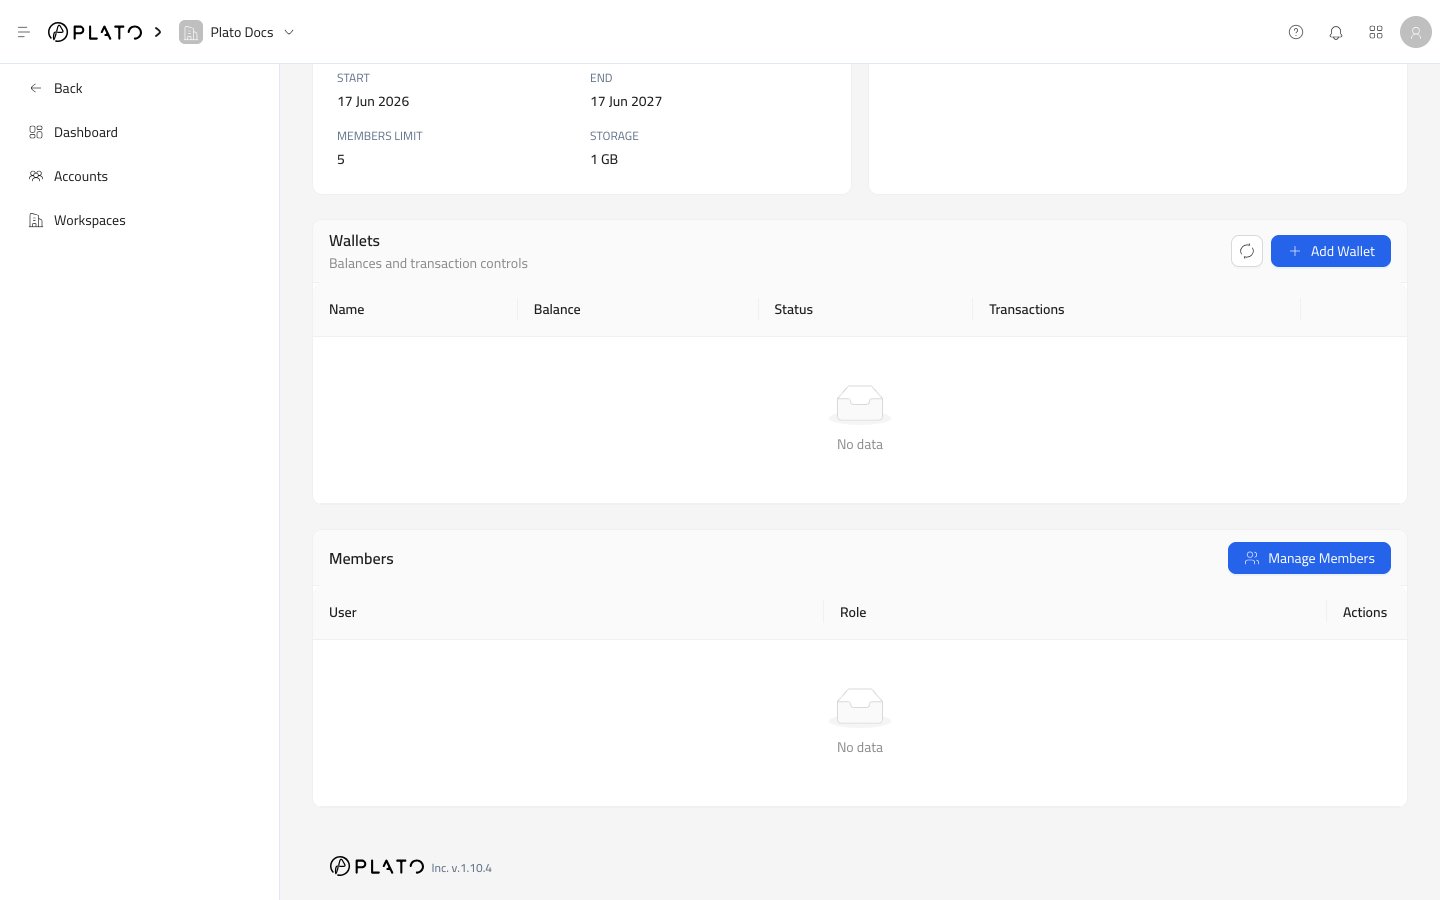
Add A Wallet
- Open a workspace details page.
- Go to the
Walletsarea. - Click
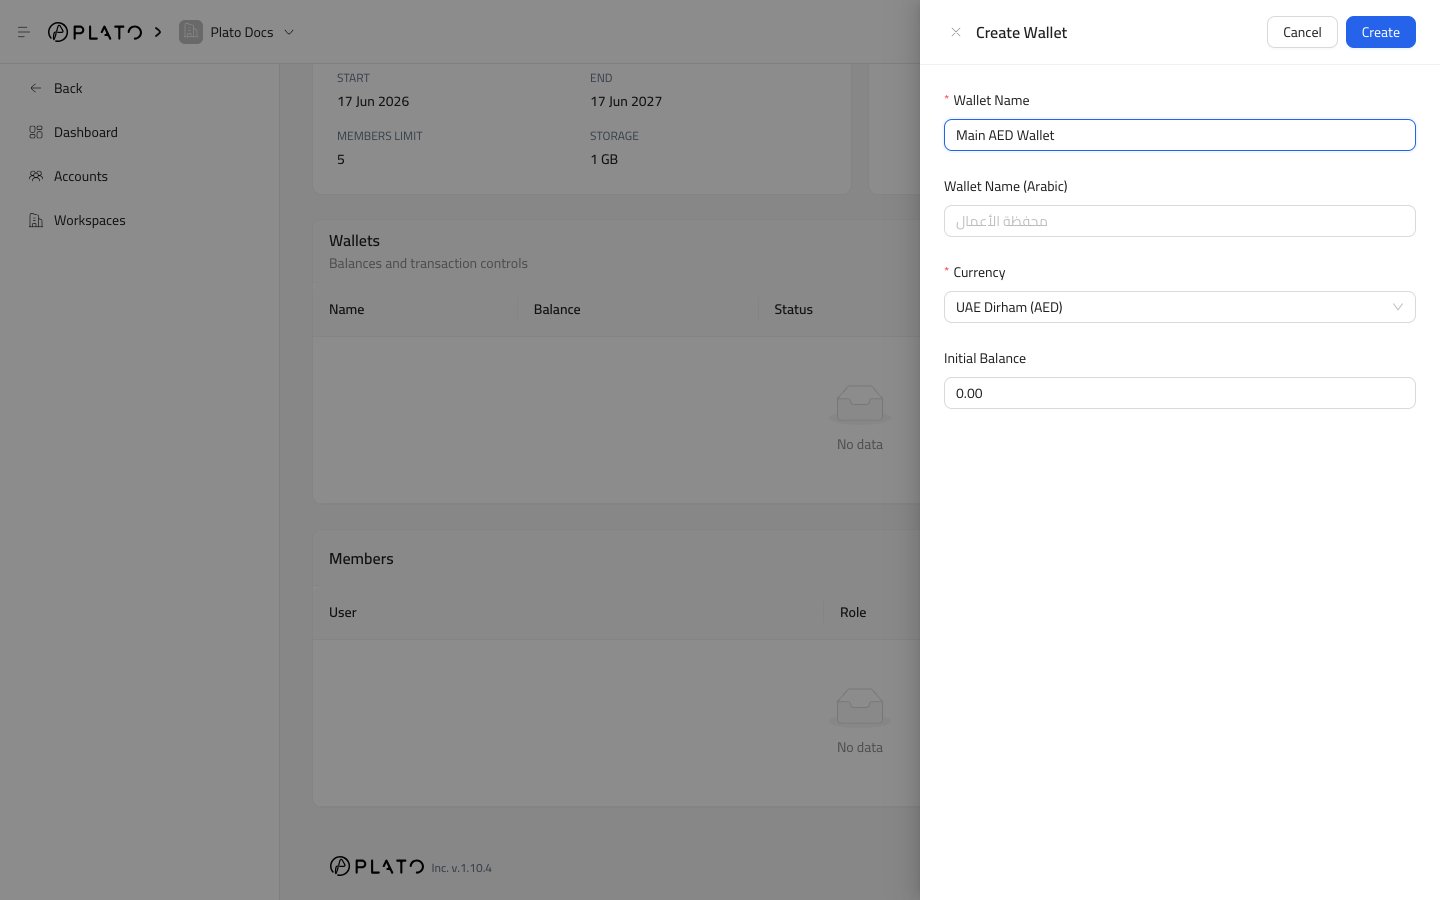
Add Wallet. - Fill the wallet details.
- Click
Create.
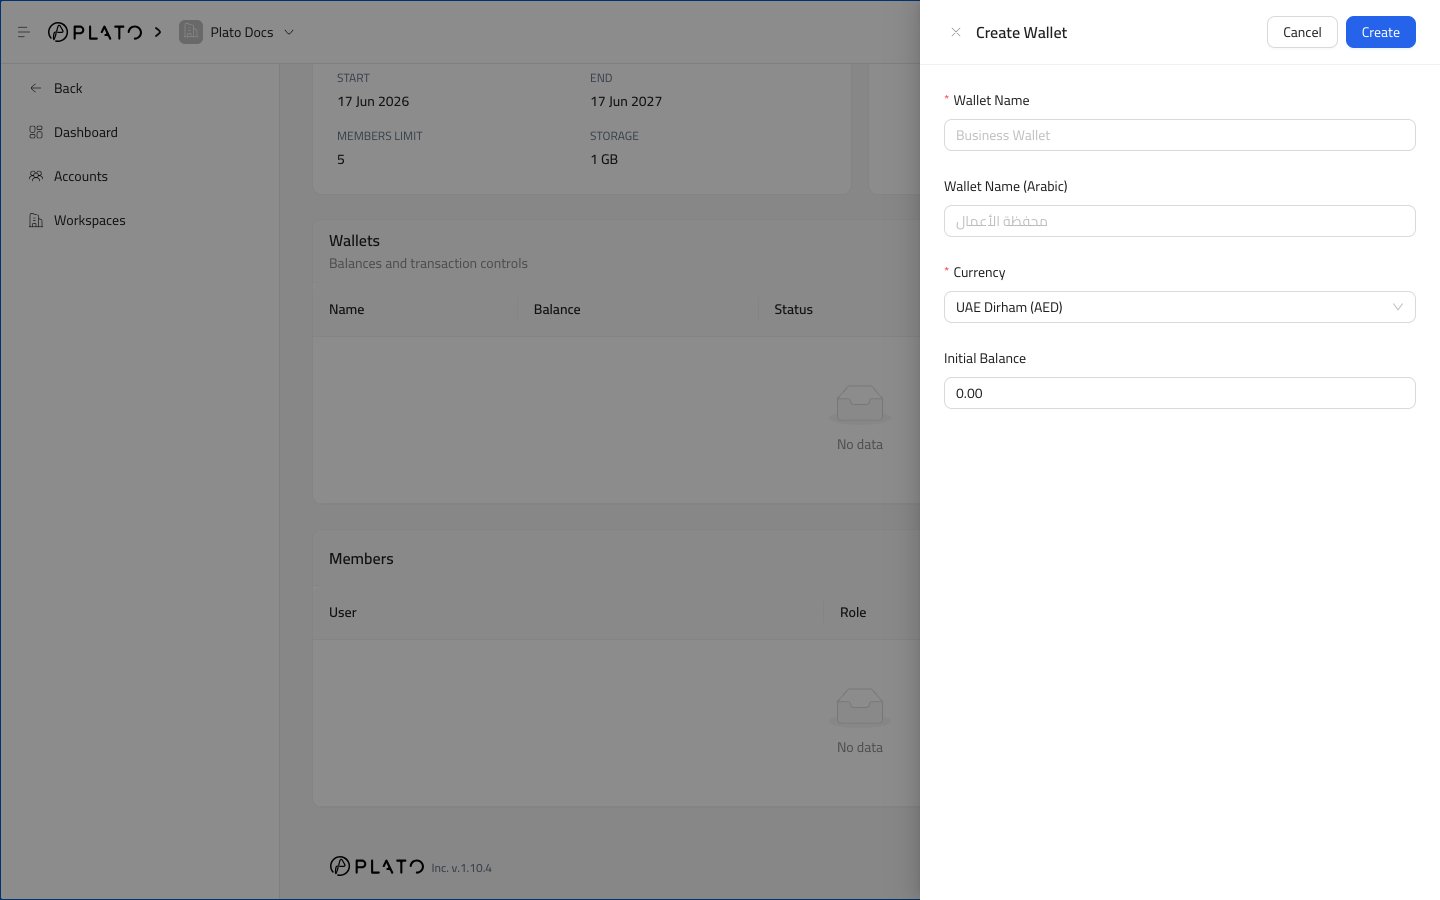
Wallet Fields
Wallet Name is the name shown in the workspace.
Wallet Name (Arabic) is optional, and helps teams working in Arabic.
Currency controls the wallet currency. Available options can include UAE Dirham, US Dollar, and Saudi Riyal.
Initial Balance sets the starting balance.
Wallet List
After a wallet is created, it appears in the Wallets table.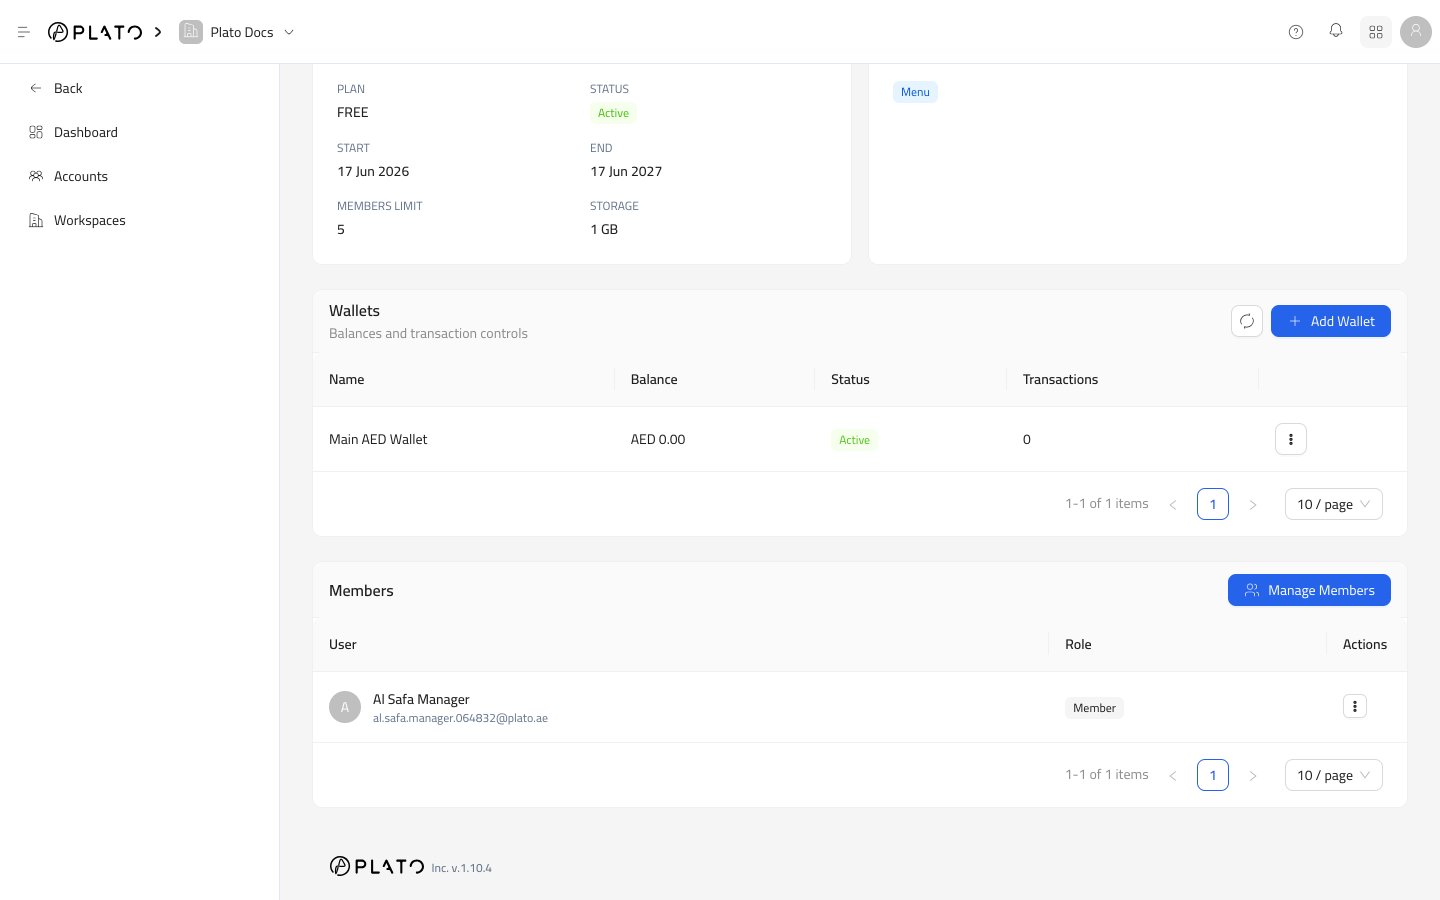
- Wallet name.
- Current balance.
- Status.
- Transaction count.
- Row actions.
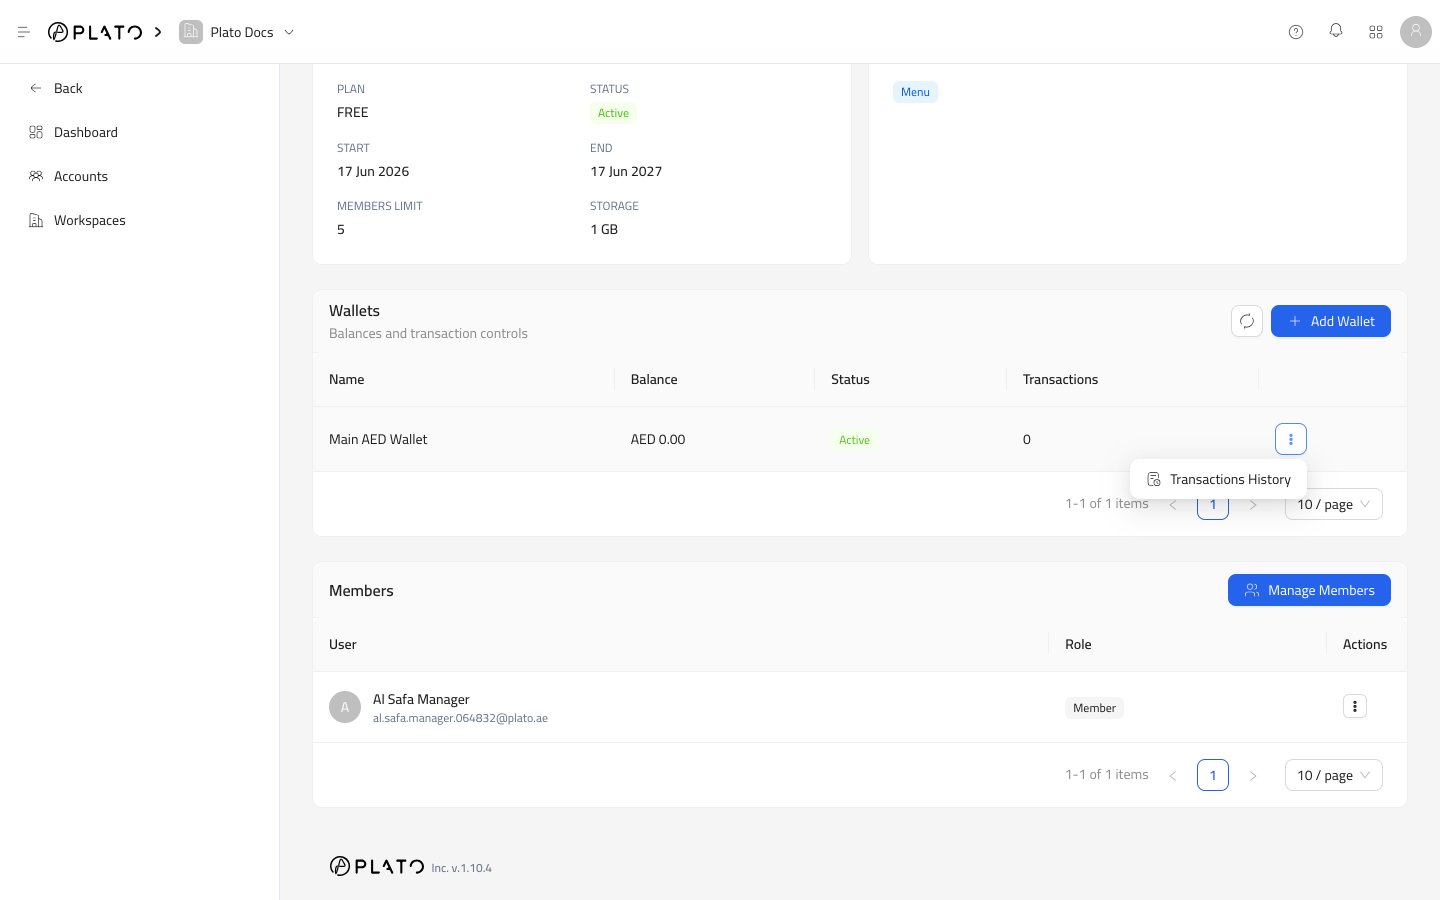
Transactions History
Open the row actions menu and chooseTransactions History.
The drawer shows wallet details, a transaction form, and the transaction history table.
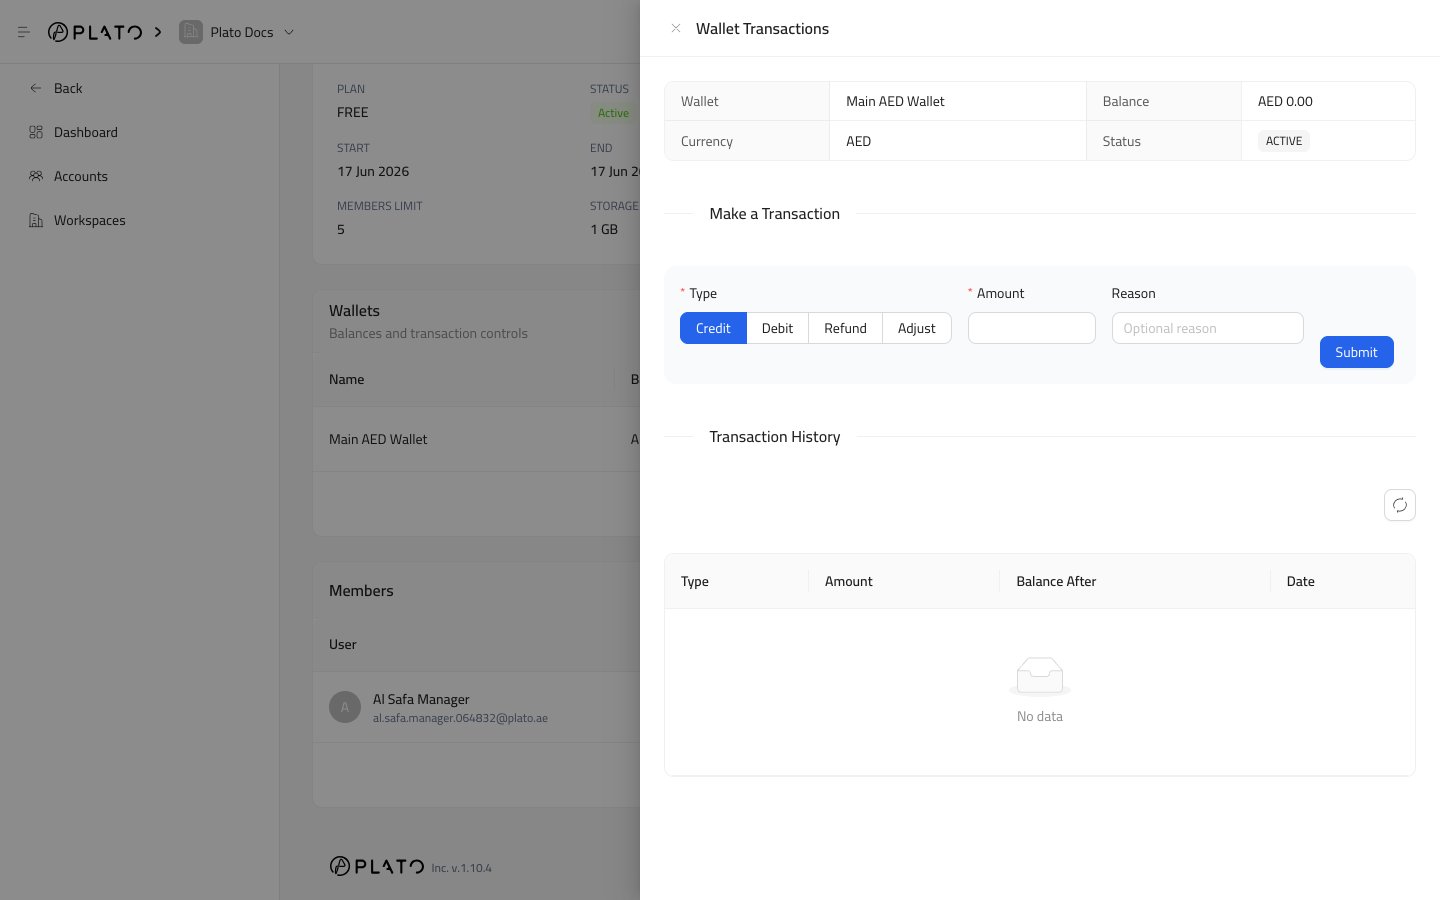
Transaction Types
Credit increases the wallet balance.
Refund also increases the wallet balance.
Debit decreases the wallet balance.
Adjustment decreases the wallet balance.
Use the type that matches the real business action. Add a short reason so the history is easy to understand later.
Transaction Fields
Amount is the value to add or subtract. It must be greater than zero.
Reason is optional, but recommended for support and finance review.
After saving, Plato updates the balance and adds the transaction to history.