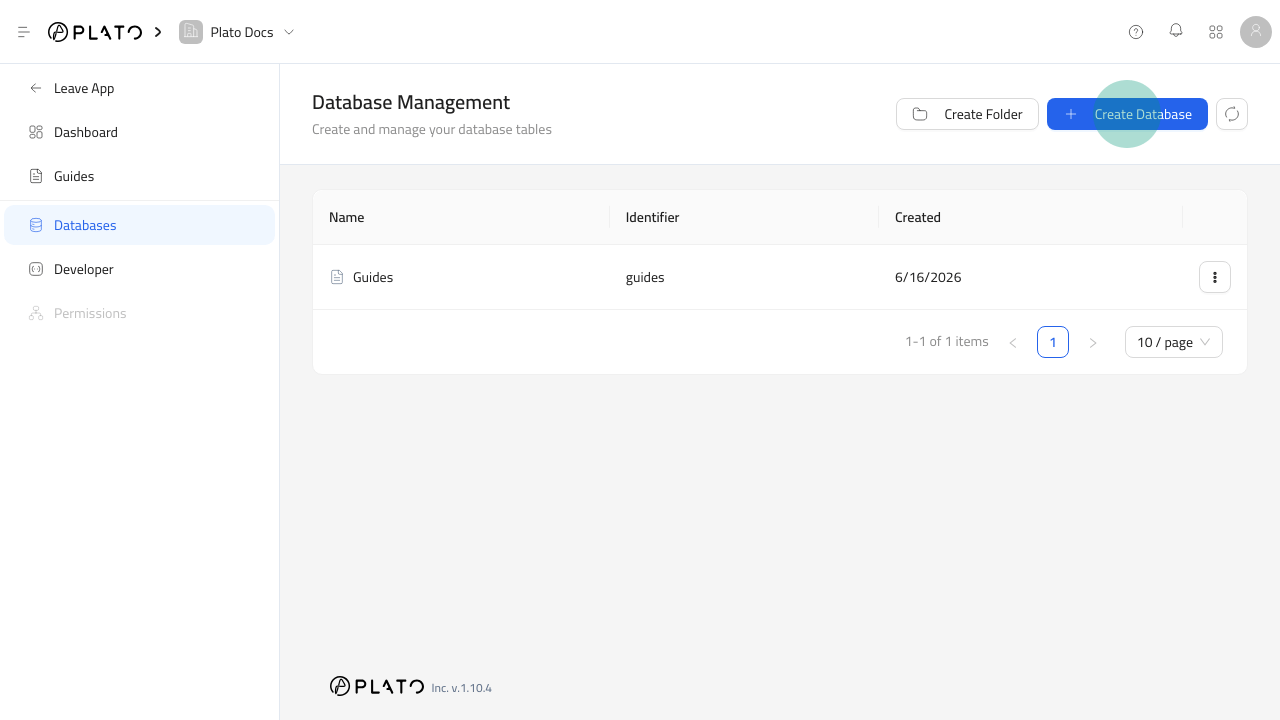
Create The Database
- Open
CMS. - Go to
Databases. - Click
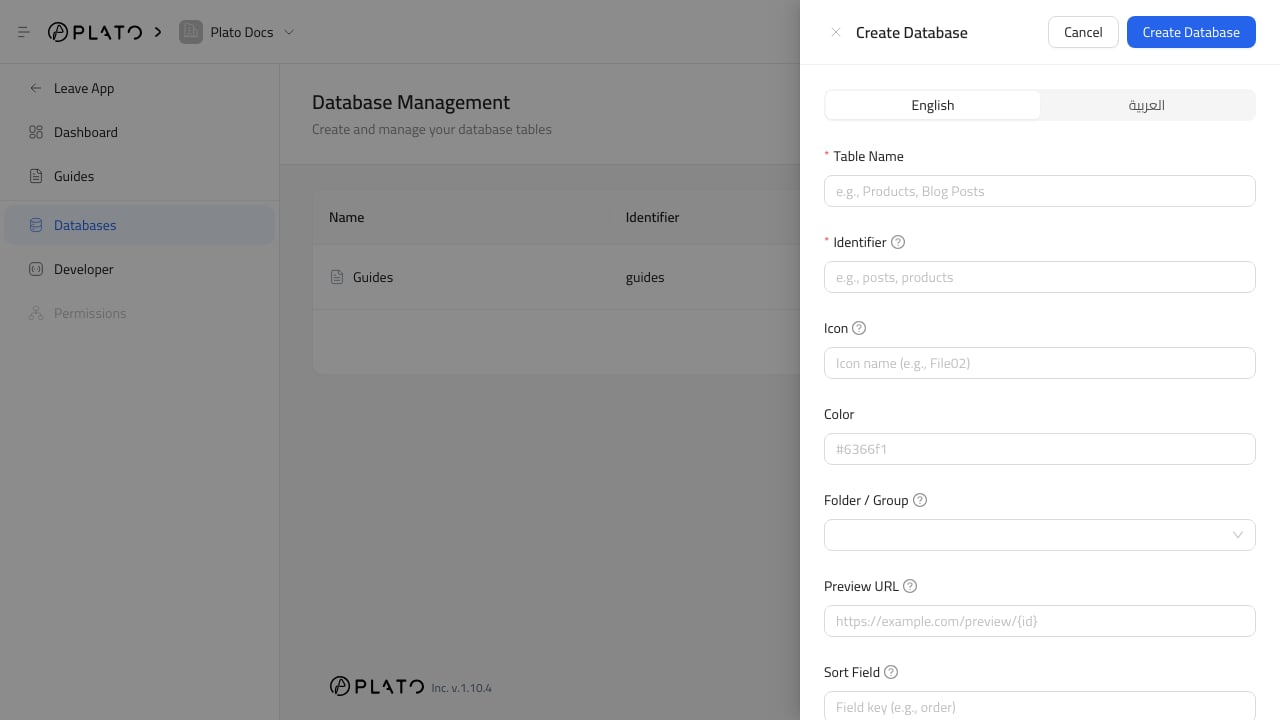
Create Database. - Enter the table name.
- Enter the identifier.
- Choose an icon and color if helpful.
- Choose a folder when the database belongs in a group.
- Add a preview URL when entries can be previewed on a public page.
- Choose whether the table is a singleton or hidden.
- Click
Create Database.
Choose A Good Identifier
Use a lowercase, stable identifier that describes the table. Good examples:locationsblog_postshome_page_sectionsservice_categories
data, items, or content.
Use Singleton Carefully
Turn onSingleton when the table should only have one entry.
Good singleton examples are homepage settings, global SEO defaults, footer content, or one workspace profile record.
Use a normal database when staff need multiple rows.
Use Preview URLs
The preview URL can include{id} for the entry ID.
Use this when editors need to open a public or staging page for a specific entry after saving it.