> ## Documentation Index
> Fetch the complete documentation index at: https://docs.plato.ae/llms.txt
> Use this file to discover all available pages before exploring further.
# Restaurant
> Set up menus, products, online ordering, tables, reservations, reports, devices, and daily restaurant operations in Plato.
Restaurant is the Plato app for running menu setup, online ordering, order management, customer records, table service, reservations, reports, and POS devices.
Use this section when you need to set up a restaurant from the beginning, maintain the menu, accept orders, review performance, or connect front-of-house and kitchen devices.
 ## Start Here
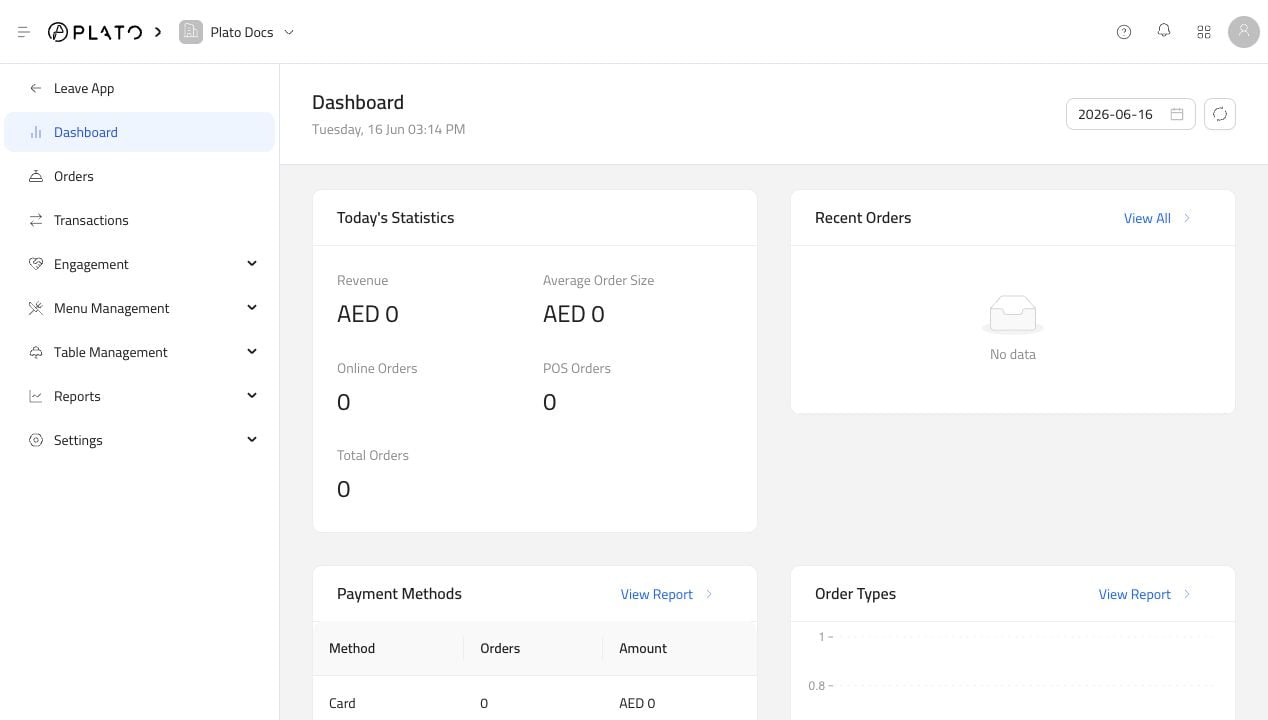
Enter the app, understand the sidebar, and find the main daily areas.
Create menus, categories, products, modifiers, and public ordering pages.
Review incoming orders, create manual orders, and track service activity.
Set up dining areas, tables, table sessions, and reservations.
Choose the right sales, payment, menu performance, and operations report.
Connect POS, KDS, printers, display screens, and Plato Mesh.
## Popular Setup Paths
If you are setting up the online menu, start with [Create A Menu](/restaurant/menu-management/menus/create-menu), then [Add A Product](/restaurant/menu-management/product-catalog/add-product), then [Add Products To The Menu](/restaurant/menu-management/builder/add-products).
If you are preparing service, start with [Add Tables](/restaurant/tables-and-reservations/tables/add-tables), [Create A Delivery Zone](/restaurant/settings/delivery-zones/create-zone), and [Add A Device](/restaurant/settings/devices/add-device).
If you are reviewing performance, start with [Daily Sales](/restaurant/reports/sales/daily-sales), [Payment Methods](/restaurant/reports/payments/payment-methods), and [Items Report](/restaurant/reports/menu-performance/items).
## How Restaurant Is Organized
Restaurant has two main working areas:
* The Restaurant back office, where staff manage orders, customers, tables, reports, and restaurant-wide settings.
* The menu app editor, where staff build a public online menu, adjust ordering settings, change theme, and preview the customer menu.
If you are setting up a new restaurant, work in this order:
1. Create categories.
2. Add products.
3. Create modifiers if customers need choices or add-ons.
4. Create or open the online menu.
5. Add products to the menu builder.
6. Configure ordering, theme, language, and integrations.
7. Set up delivery zones, charges, discounts, payment methods, reasons, and devices.
8. Test the public menu and place a test order before sharing the URL or QR code.
## What Customers See
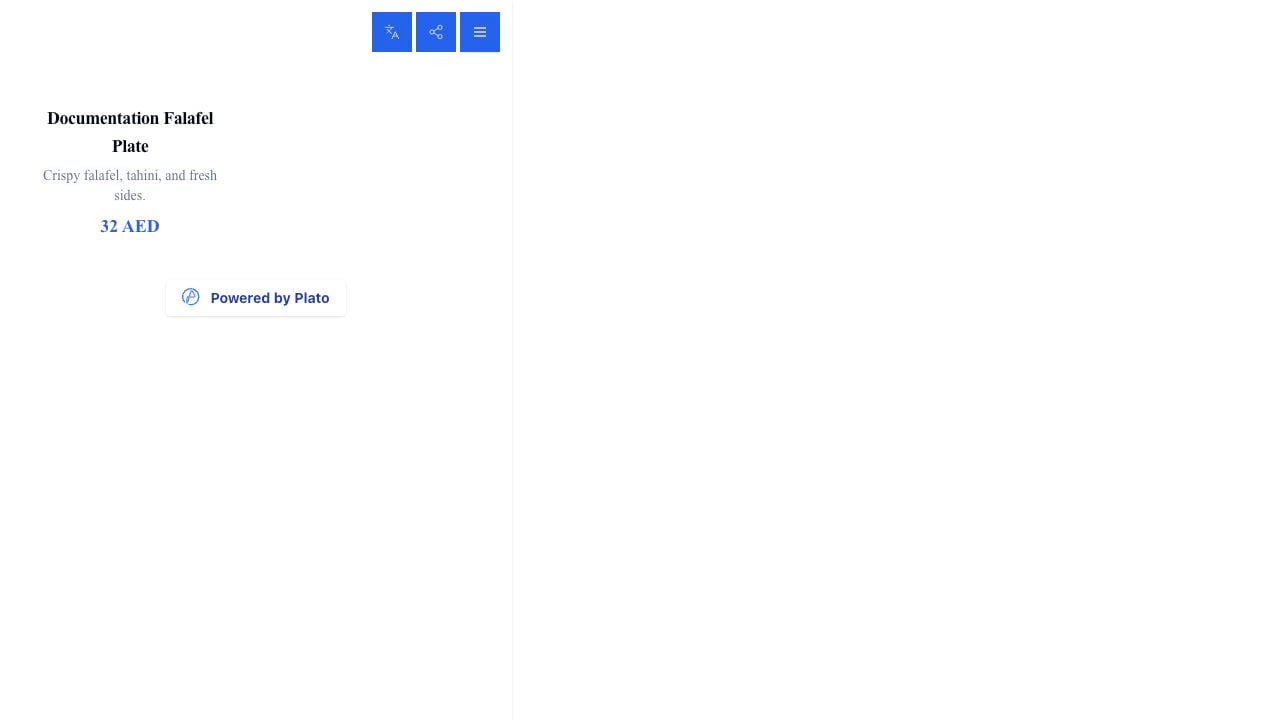
Customers only see the public online menu and checkout flow. Back-office pages like products, reports, device settings, and transactions are for restaurant staff inside Plato.
## Start Here
Enter the app, understand the sidebar, and find the main daily areas.
Create menus, categories, products, modifiers, and public ordering pages.
Review incoming orders, create manual orders, and track service activity.
Set up dining areas, tables, table sessions, and reservations.
Choose the right sales, payment, menu performance, and operations report.
Connect POS, KDS, printers, display screens, and Plato Mesh.
## Popular Setup Paths
If you are setting up the online menu, start with [Create A Menu](/restaurant/menu-management/menus/create-menu), then [Add A Product](/restaurant/menu-management/product-catalog/add-product), then [Add Products To The Menu](/restaurant/menu-management/builder/add-products).
If you are preparing service, start with [Add Tables](/restaurant/tables-and-reservations/tables/add-tables), [Create A Delivery Zone](/restaurant/settings/delivery-zones/create-zone), and [Add A Device](/restaurant/settings/devices/add-device).
If you are reviewing performance, start with [Daily Sales](/restaurant/reports/sales/daily-sales), [Payment Methods](/restaurant/reports/payments/payment-methods), and [Items Report](/restaurant/reports/menu-performance/items).
## How Restaurant Is Organized
Restaurant has two main working areas:
* The Restaurant back office, where staff manage orders, customers, tables, reports, and restaurant-wide settings.
* The menu app editor, where staff build a public online menu, adjust ordering settings, change theme, and preview the customer menu.
If you are setting up a new restaurant, work in this order:
1. Create categories.
2. Add products.
3. Create modifiers if customers need choices or add-ons.
4. Create or open the online menu.
5. Add products to the menu builder.
6. Configure ordering, theme, language, and integrations.
7. Set up delivery zones, charges, discounts, payment methods, reasons, and devices.
8. Test the public menu and place a test order before sharing the URL or QR code.
## What Customers See
Customers only see the public online menu and checkout flow. Back-office pages like products, reports, device settings, and transactions are for restaurant staff inside Plato.