> ## Documentation Index
> Fetch the complete documentation index at: https://docs.plato.ae/llms.txt
> Use this file to discover all available pages before exploring further.
# Create An Account
> Add a customer account, choose login details, generate a password, and connect the account to workspaces.
Create an account when a customer needs a login managed under your partner workspace.
 ## Open The Drawer
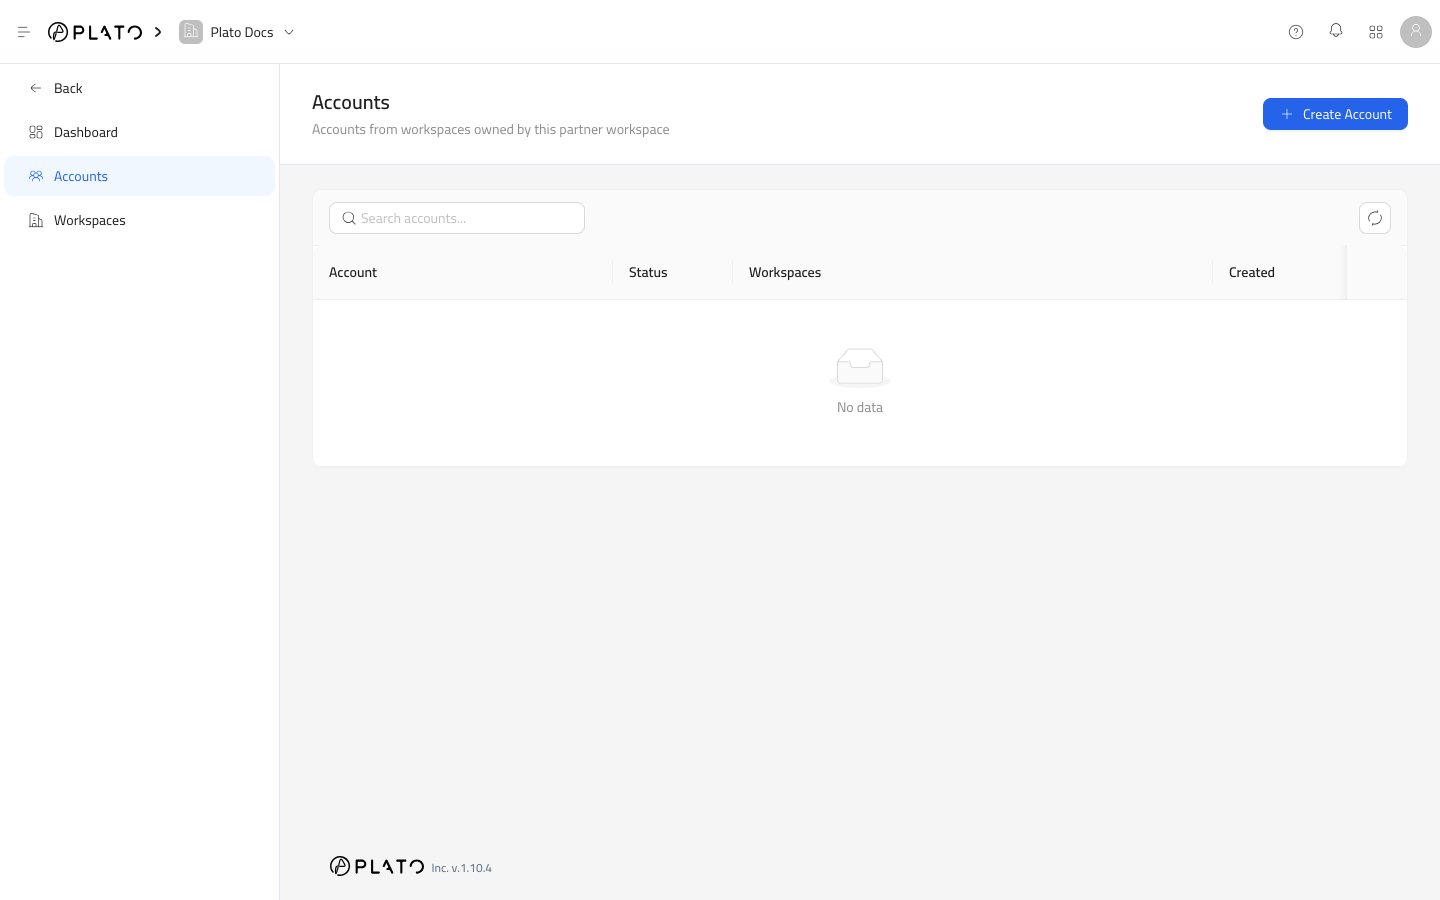
1. Open `Partners`.
2. Go to `Accounts`.
3. Click `Create Account`.
The drawer opens from the side so you can add the account without leaving the accounts list.
## Open The Drawer
1. Open `Partners`.
2. Go to `Accounts`.
3. Click `Create Account`.
The drawer opens from the side so you can add the account without leaving the accounts list.
 ## Account Fields
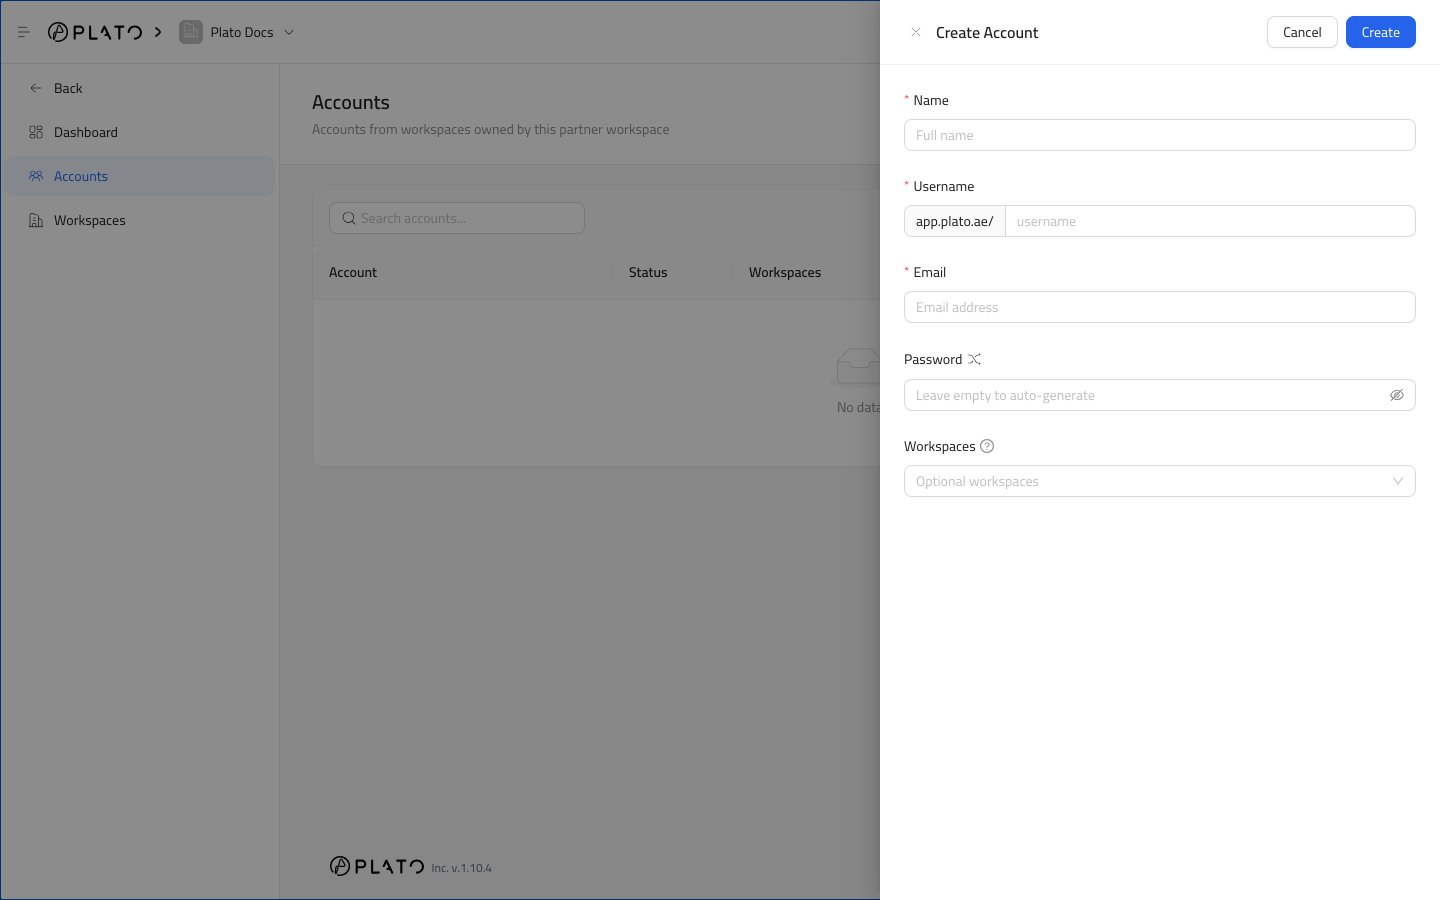
`Name` is the customer's display name.
`Username` creates the account username. Plato keeps the workspace URL prefix visible while you type.
`Email` is the sign-in and notification email for the account.
`Password` can be typed manually or left empty when you want Plato to generate one. Use the shuffle button when you want a new generated password.
`Workspaces` lets you connect the account to one or more partner-owned workspaces right away. You can also leave it empty and add the account later from a workspace.
## Account Fields
`Name` is the customer's display name.
`Username` creates the account username. Plato keeps the workspace URL prefix visible while you type.
`Email` is the sign-in and notification email for the account.
`Password` can be typed manually or left empty when you want Plato to generate one. Use the shuffle button when you want a new generated password.
`Workspaces` lets you connect the account to one or more partner-owned workspaces right away. You can also leave it empty and add the account later from a workspace.
 ## Create The Account
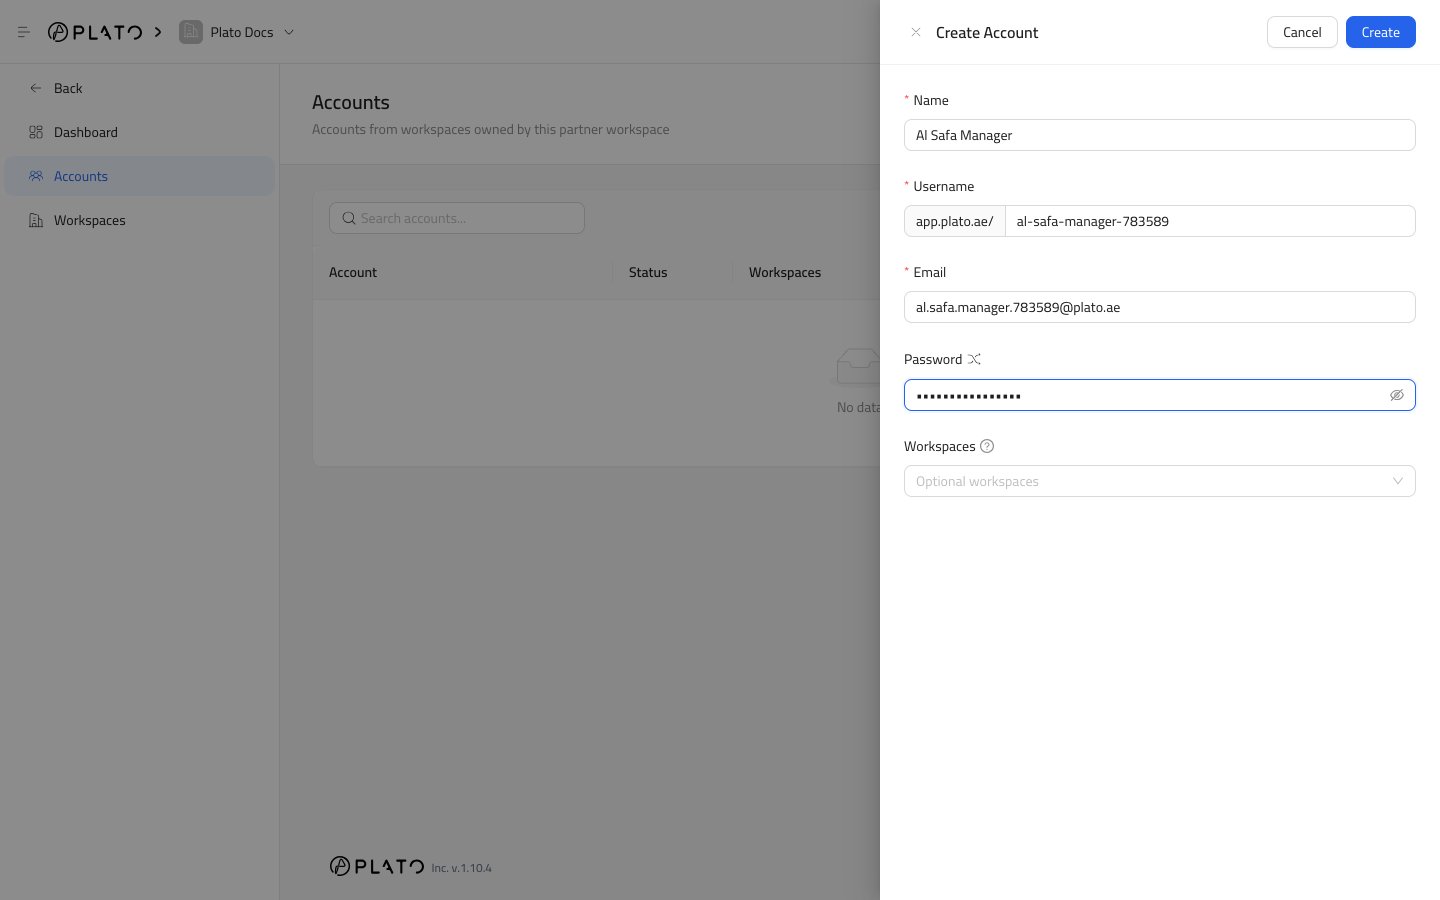
After the required fields are ready, click `Create`.
Plato may ask you to confirm your own password before the account is created. This confirmation protects customer access changes.
## Create The Account
After the required fields are ready, click `Create`.
Plato may ask you to confirm your own password before the account is created. This confirmation protects customer access changes.
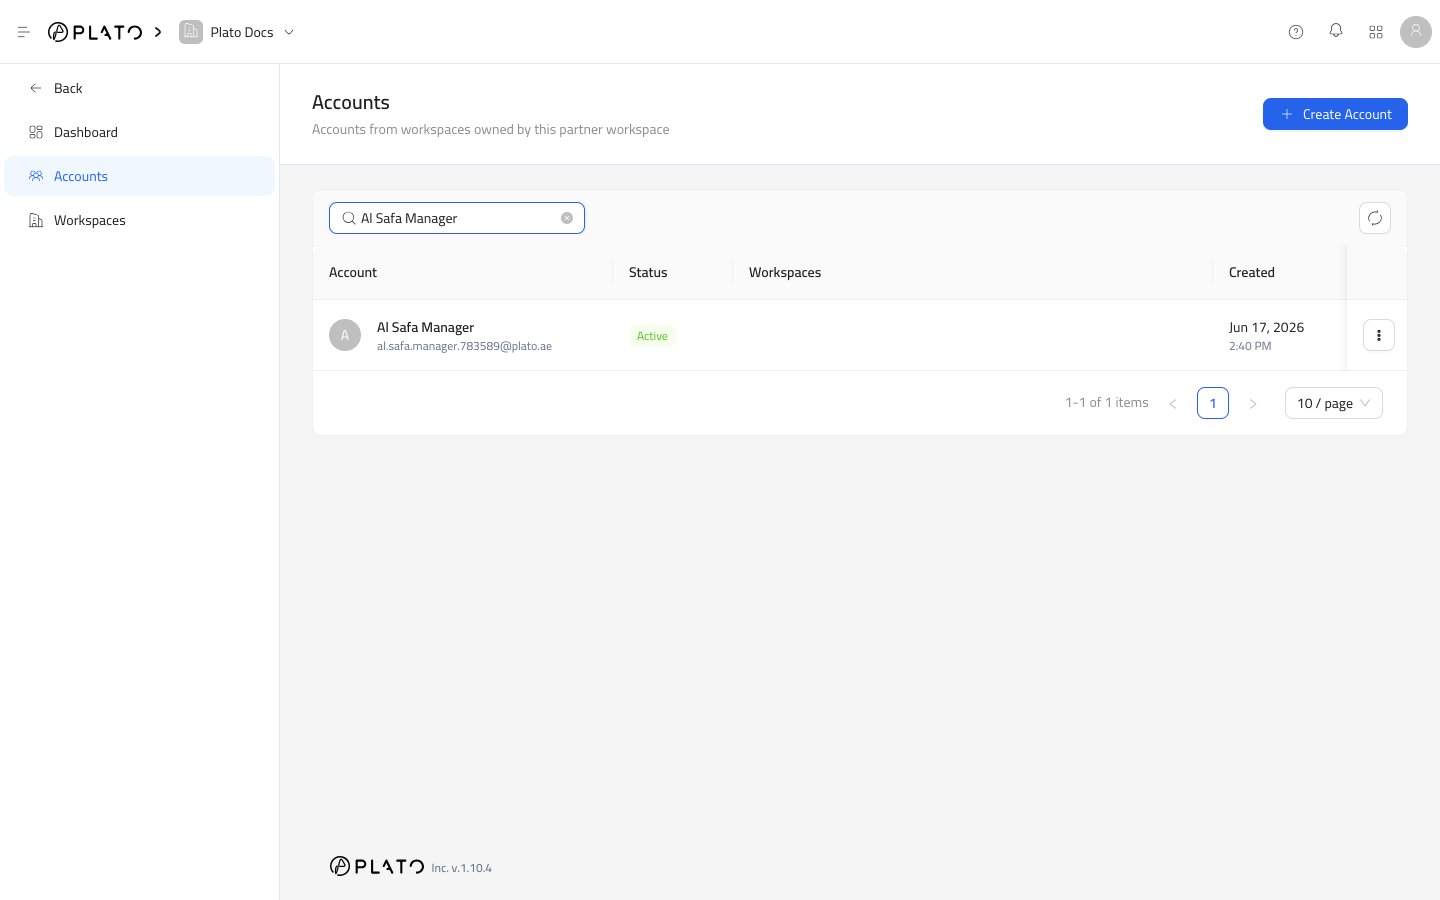
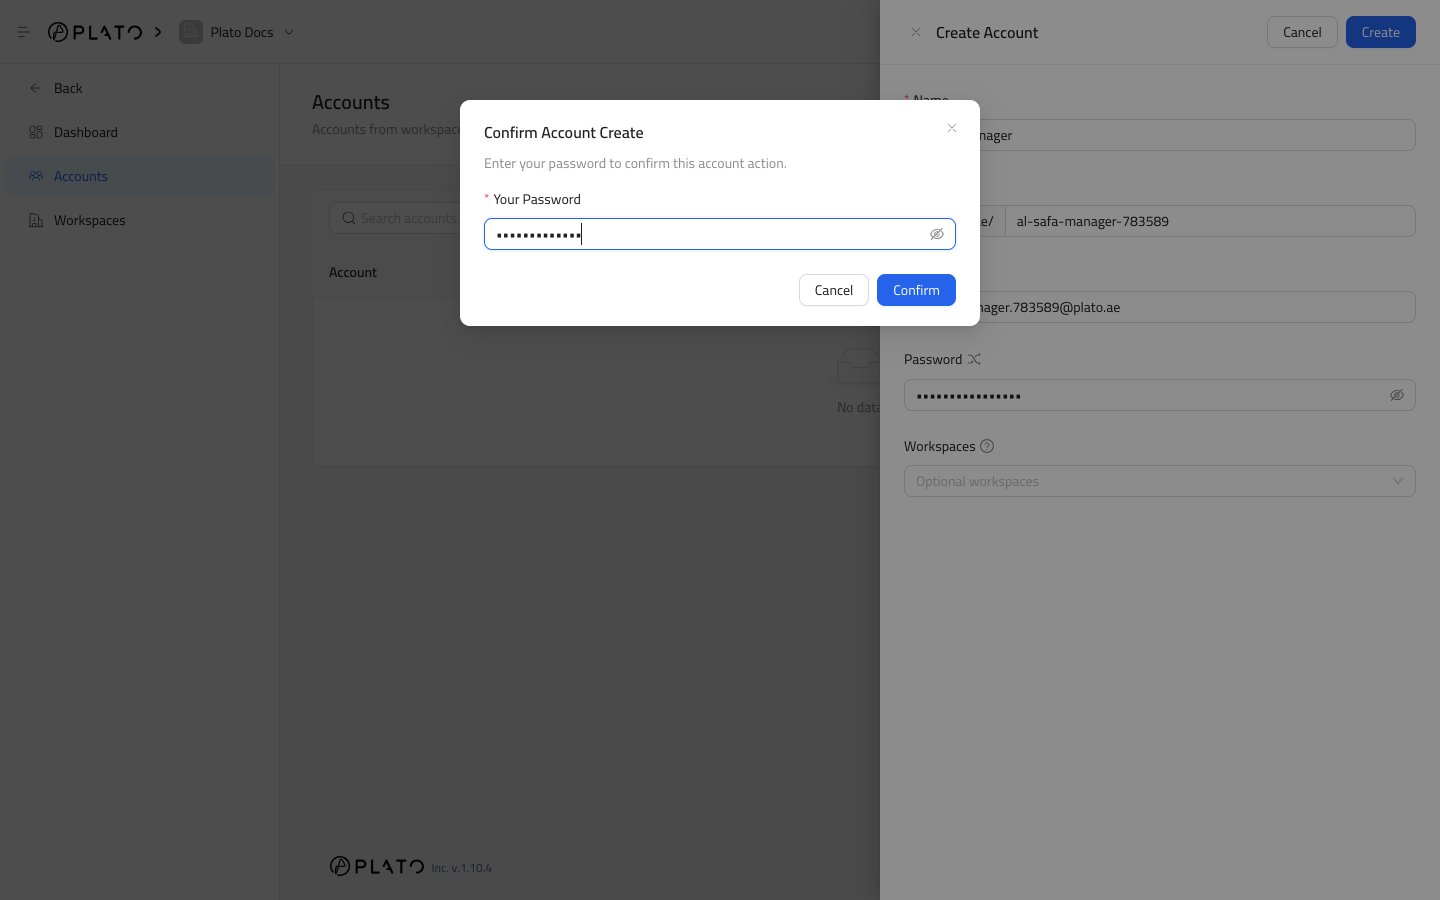 After the account is created, it appears in the Accounts list.
 ## When To Assign Workspaces Now
Assign a workspace during account creation when you already know where the customer belongs.
Leave workspaces empty when the account needs to exist first, or when another teammate will decide access later.
## Editing Later
After creation, use `Edit Account` from the account row actions menu to update the same profile fields and workspace access.
## When To Assign Workspaces Now
Assign a workspace during account creation when you already know where the customer belongs.
Leave workspaces empty when the account needs to exist first, or when another teammate will decide access later.
## Editing Later
After creation, use `Edit Account` from the account row actions menu to update the same profile fields and workspace access.