> ## Documentation Index
> Fetch the complete documentation index at: https://docs.plato.ae/llms.txt
> Use this file to discover all available pages before exploring further.
# Create An Order And Send It
> Start an order, add items, and send it to the service flow.
Use this flow when a cashier or server needs to create a normal POS order and send it to the next service step.
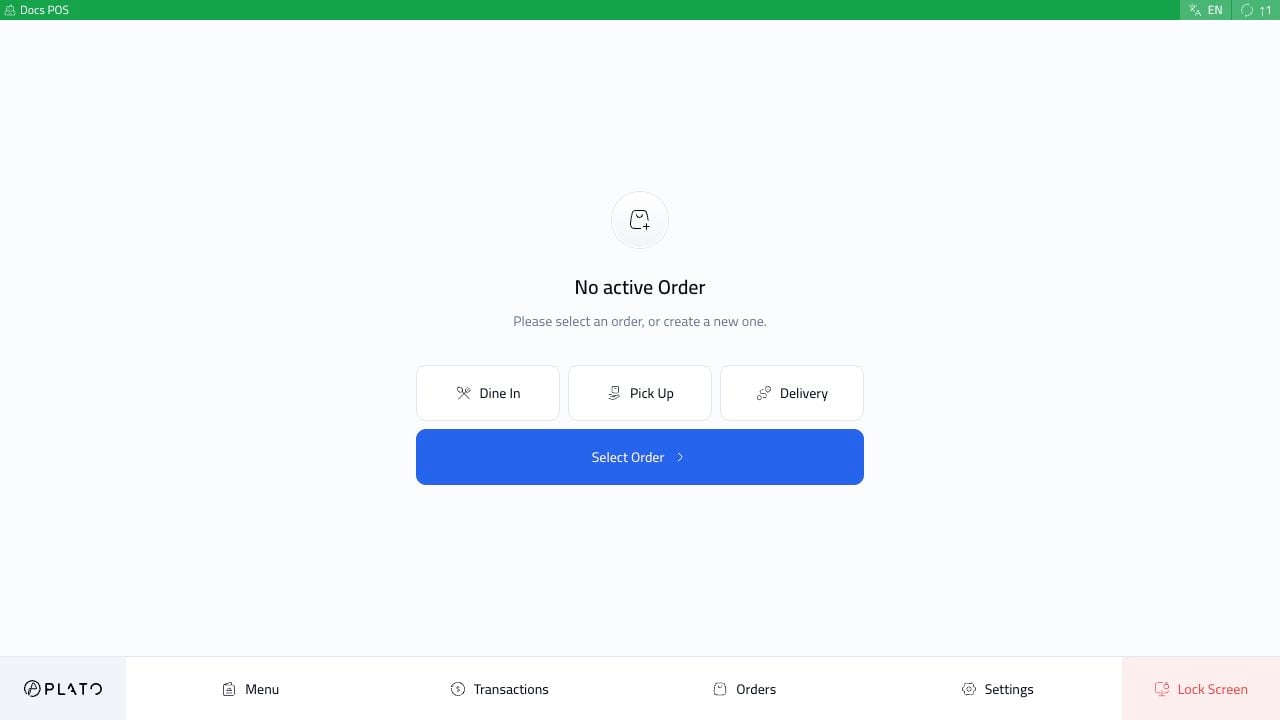
Start from the POS screen with no active order.
 ## Choose The Order Type
Choose the order type the customer needs. In this example, the cashier starts a dine-in order.
## Choose The Order Type
Choose the order type the customer needs. In this example, the cashier starts a dine-in order.
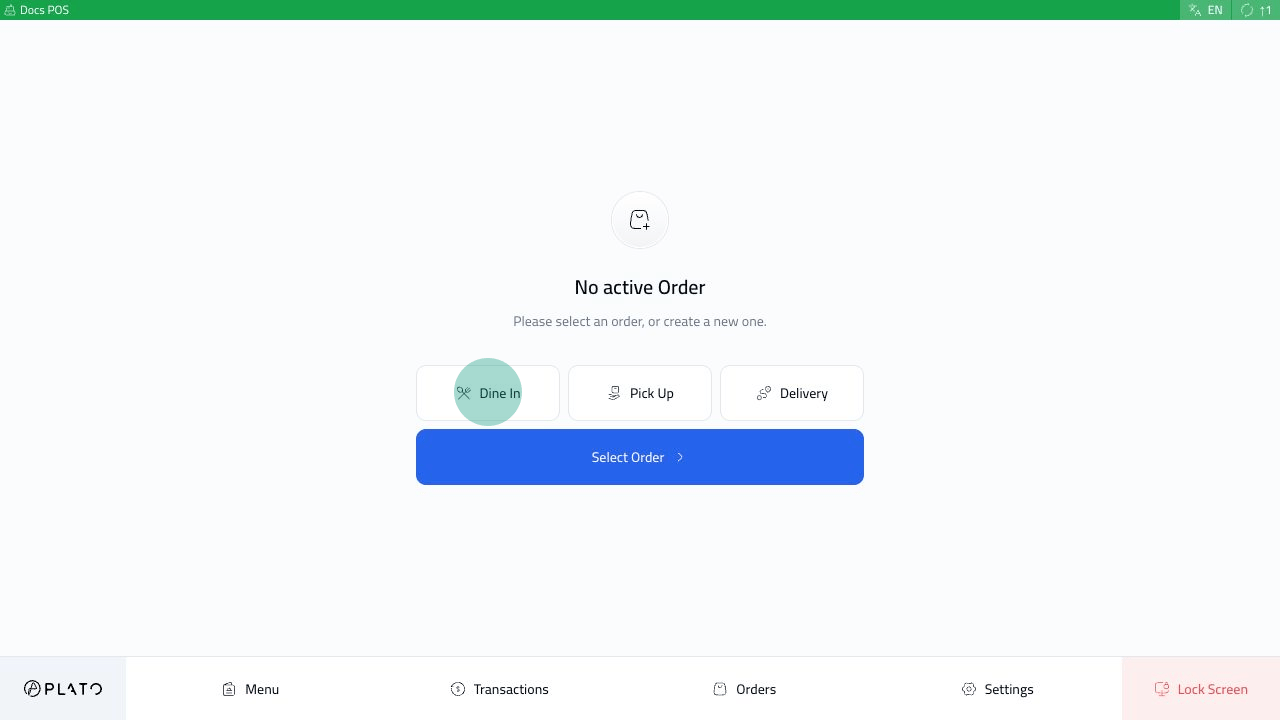 Common order types include:
* Dine In.
* Pick Up.
* Delivery.
* Drive Thru.
* Food aggregator orders, when they are enabled.
Only the order types enabled in POS config appear here.
## Check The New Order
After choosing an order type, the check opens on the right side.
Common order types include:
* Dine In.
* Pick Up.
* Delivery.
* Drive Thru.
* Food aggregator orders, when they are enabled.
Only the order types enabled in POS config appear here.
## Check The New Order
After choosing an order type, the check opens on the right side.
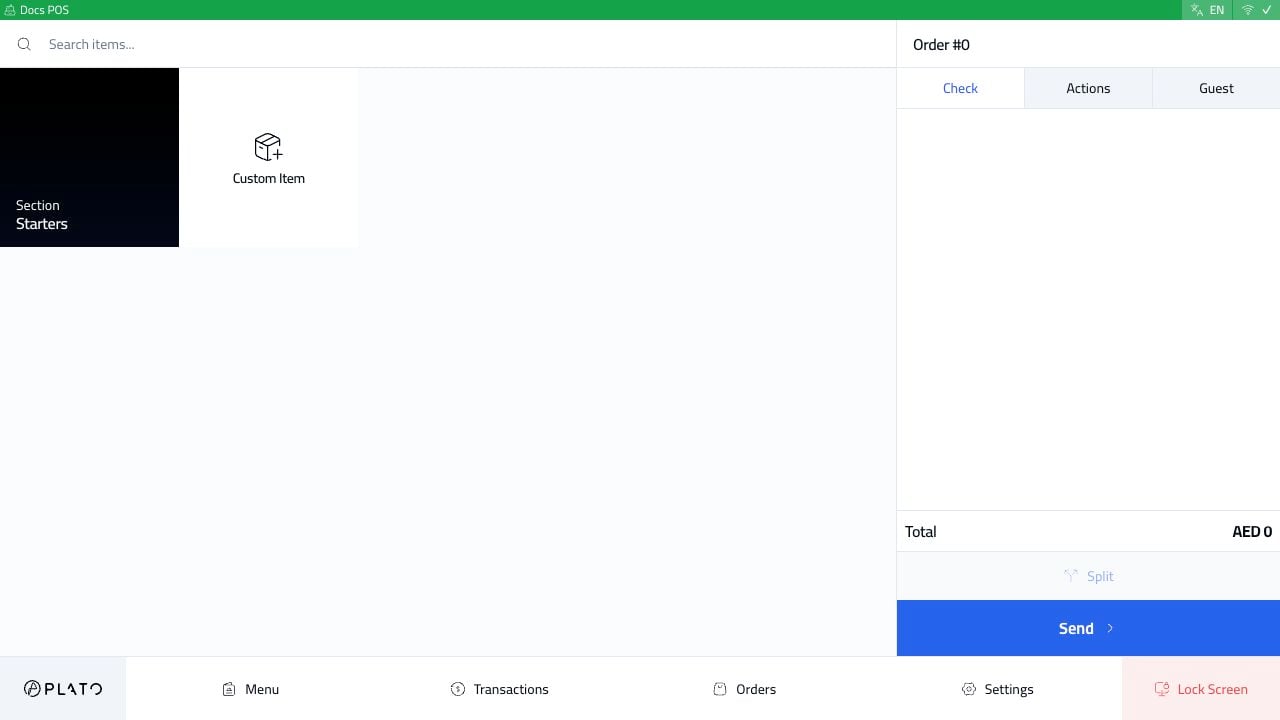 Check the order number and make sure the customer is in the right order type before adding items.
## Add Items To The Check
Select products from the menu. When the item does not exist in the menu, use `Custom Item`.
Check the order number and make sure the customer is in the right order type before adding items.
## Add Items To The Check
Select products from the menu. When the item does not exist in the menu, use `Custom Item`.
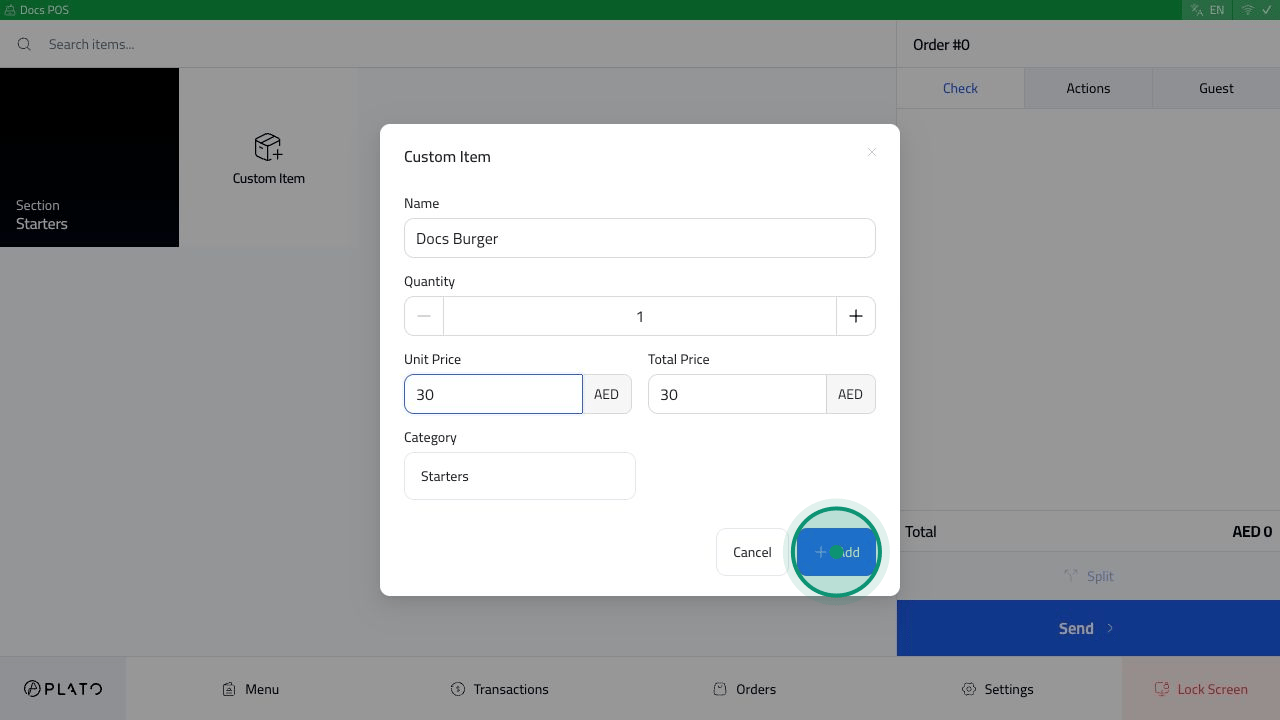
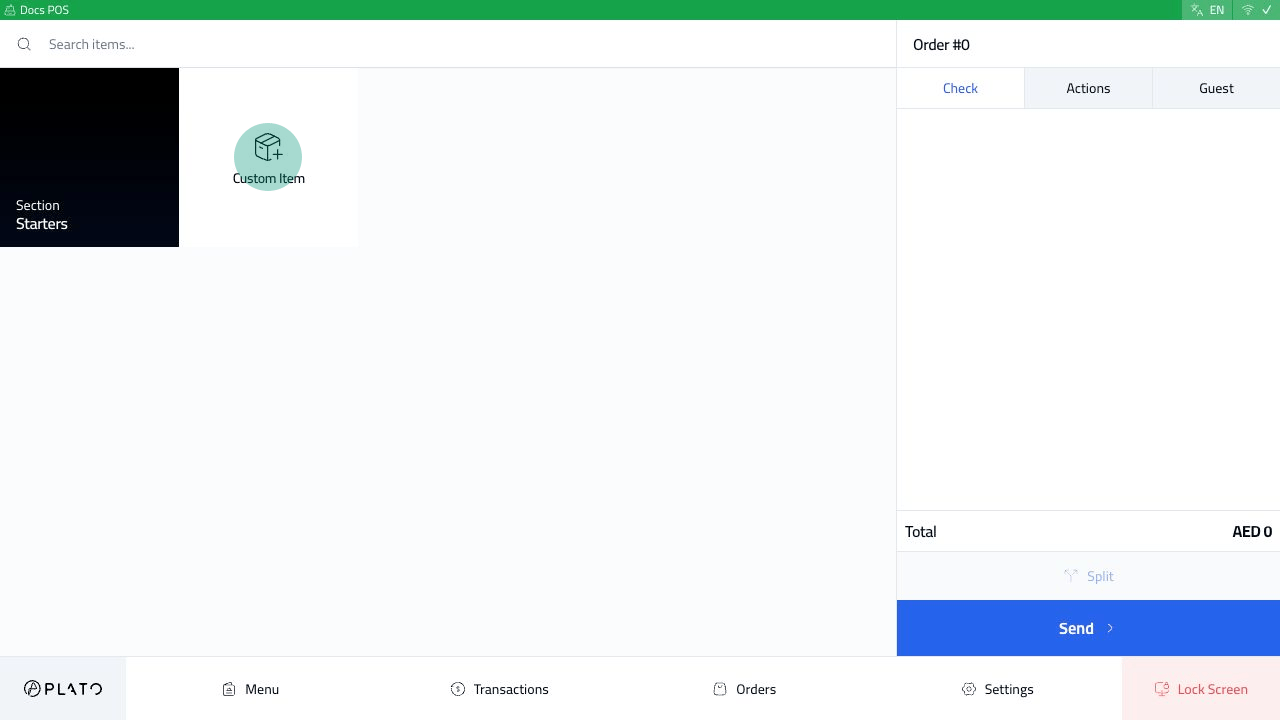 The custom item form lets the cashier enter the item name, quantity, price, and category.
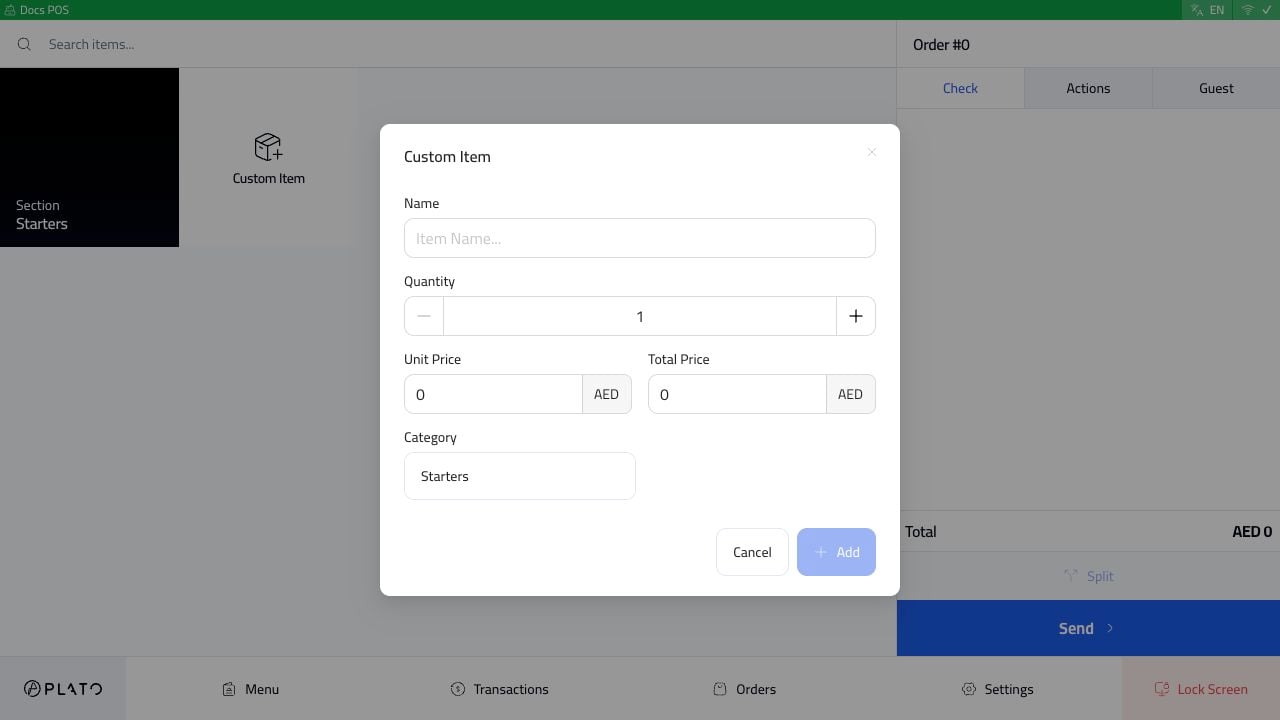 Enter the details, then click `Add`.
 The item appears on the check.
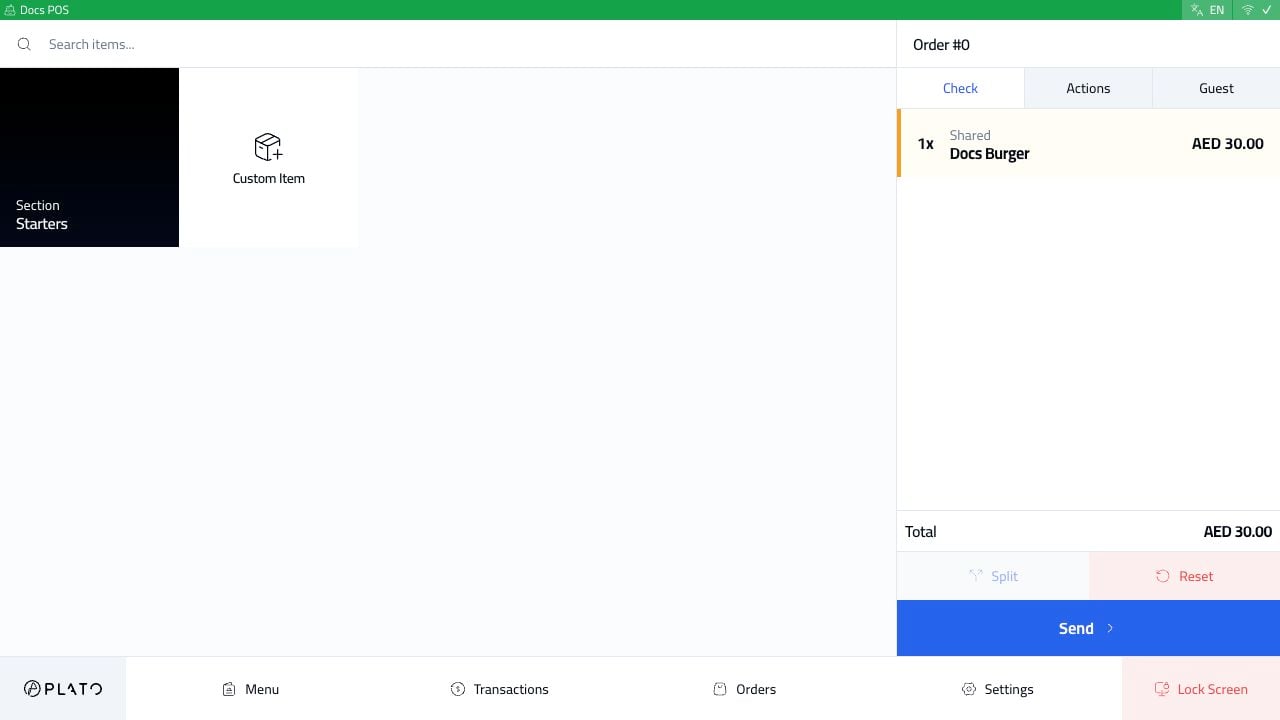 Add the rest of the customer items before sending the order.
If the restaurant uses menu products, modifiers, notes, or seats, complete those details before sending.
## Send The Order
Click `Send`.
Add the rest of the customer items before sending the order.
If the restaurant uses menu products, modifiers, notes, or seats, complete those details before sending.
## Send The Order
Click `Send`.
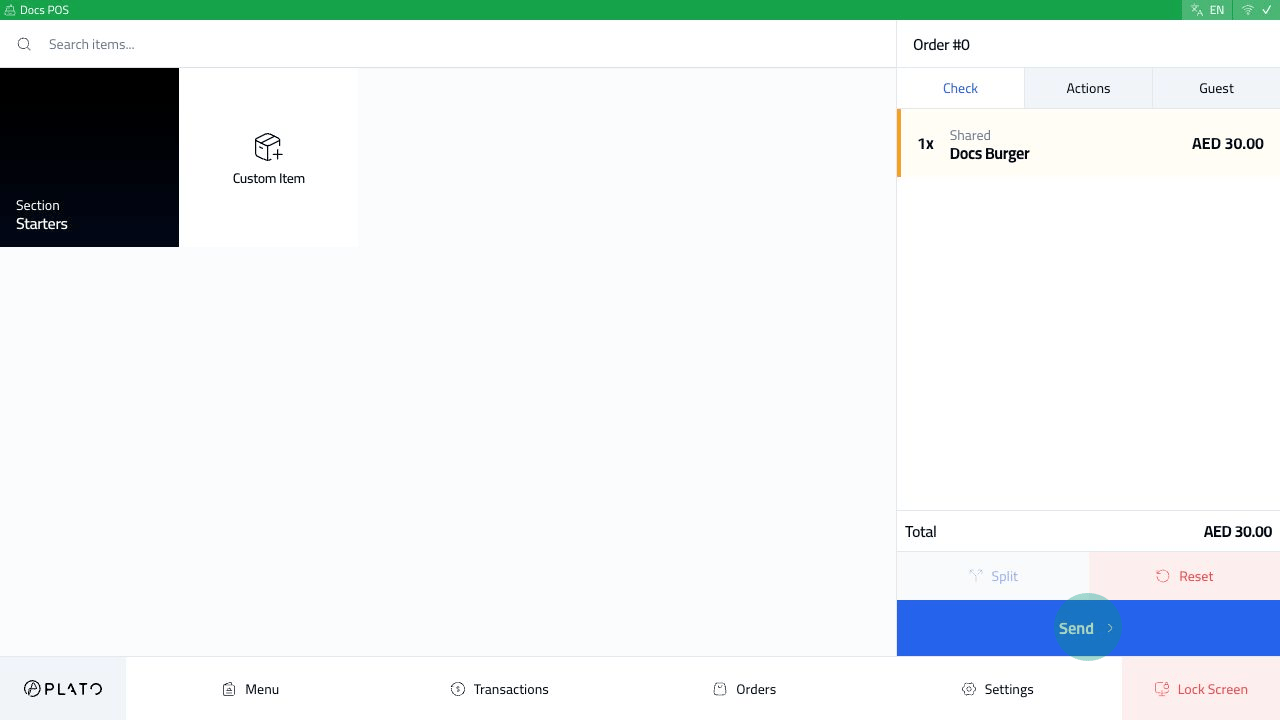 After the order is sent, Plato keeps the check open and shows the service actions.
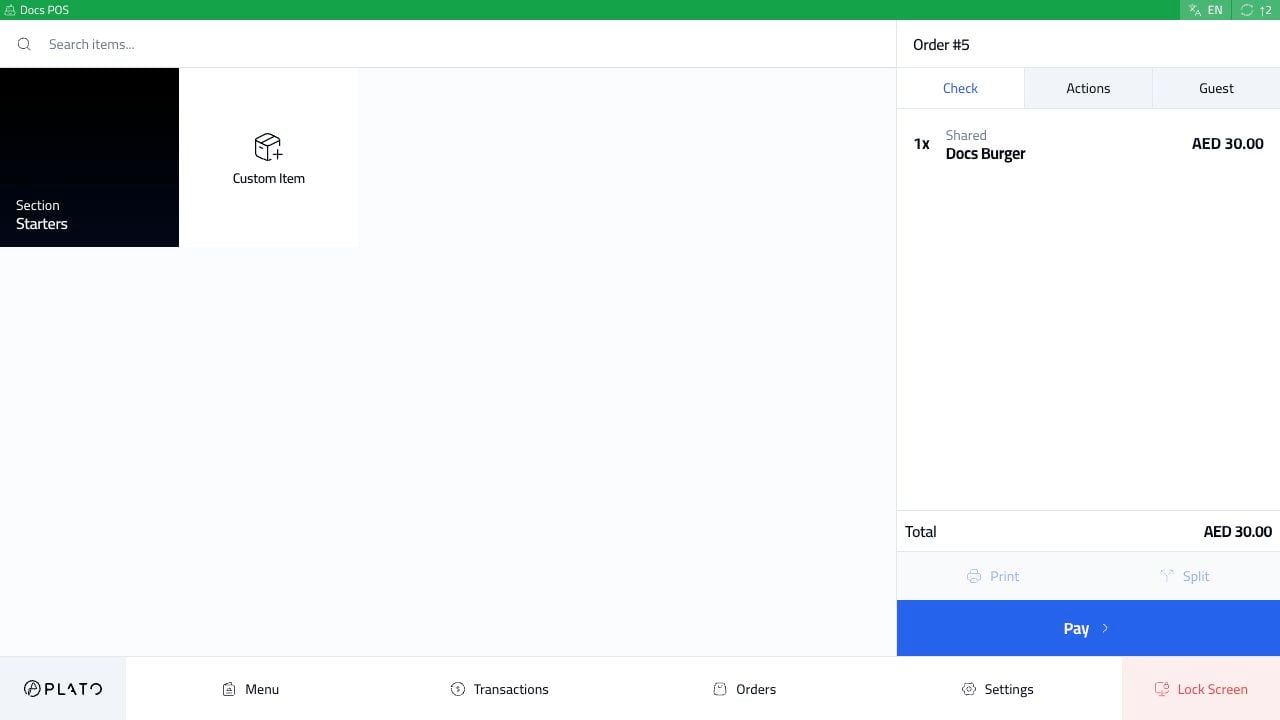 Depending on the device setup, sending can update the order status, send KDS tickets, and make printing or payment actions available.
## What To Check Before Payment
Before clicking `Pay`, confirm:
1. The right order type is selected.
2. The items and quantities are correct.
3. Notes, modifiers, seats, and table details are correct when used.
4. The total matches what the customer expects.
Depending on the device setup, sending can update the order status, send KDS tickets, and make printing or payment actions available.
## What To Check Before Payment
Before clicking `Pay`, confirm:
1. The right order type is selected.
2. The items and quantities are correct.
3. Notes, modifiers, seats, and table details are correct when used.
4. The total matches what the customer expects.